Wednesday, February 25, 2015

Master Bedroom Make Over Complete - For Now Anyway

So I began this blog with my master bedroom make over. And I'm happy to say it is done for now anyway. I have a couple of things I would like to upgrade or improve but will not be tackling it anytime soon. So here are the before and afters. Changes included - flooring - paint - area carpets - bedding, bed and night tables - window treatments.


Monday, February 23, 2015

Making Less Than Perfect Beef Cuts Yummy!

I don't know about you, but I'm not the worlds worst cook and I'm not the best. I married young and have been acquiring this skill when the responsibility was plunked on my lap 20 years ago. And honestly the learning curve just keeps going and going. Especially since we turned gluten free and as low carb as possible. This past week I researched and found two great recipes for cooking up those cuts of beef that are not so easy to cook. This week it was stewing beef and a blade steak and I learned some valuable information that I want to pass on and that I know will serve me well probably for the rest of my life.

I'm a pretty good soup maker. I have a couple of stand by soups that I basically made myself and perfected over the years. But beef soup was never one that I had attempted. But I found this hearty recipe that takes those stewing beef cuts and makes them tender and yummy. In this recipe it calls for dusting of the beef cuts with flour. For this I just used a gluten free version.

http://www.theslowroasteditalian.com/2014/09/hearty-beef-soup-recipe.html

The second excellent recipe I came across was for blade steak. They seem to be the last cuts left in the freezer from our CSA (community supported agriculture) purchase and honestly I had no idea how to cut this. So after some research this is a passed the test recipe sure to make your beef yummy fall off the bone.

How to Cook a Blade Steak | LIVESTRONG.COM

I encourage you to check these out! They certainly passed the test in our home.


Thursday, February 19, 2015

Canvas Floor Mats

So I had bought these cushy, soft and EXPENSIVE floor mats from bed bath and beyond. They weren't in use for more than a day before I understood a major problem with them. They attract dirt like crazy. And that dirt sticks, like micro fiber clothes. Completely bummed with my failed purchase at this point, I again begin to brainstorm. How can I possibly salvage the situation. So after looking at the construction of the mats...they have a rubber under coating, cloth topped and edged with a binding sewn through all the layers. So I decide that I can get canvas material from the fabric store and new binding and makeover these mats into a stain resistent and easily clean funky mats.

Here are the original mats.
after ripping of the binding, I cut the fabric to size and and spray glue the new fabric in place
carefully sewing both the front and the back of the binding. This was a slow process but well worth it. And the rubber backing was making it difficult to maneuver but with patience I made it work.
 
Loving my new mats.


Thursday, February 12, 2015

How to Fix Ripped Drywall

I am currently cleaning and reorganizning my office AGAIN...and after removing a storage container that I had stuck to the wall I ripped a decent chunk of dry wall. I knew I could fix this as I had done some repairs around the house earlier but it wasn't until then that I finally figured out how to fix these issues properly. So I'm passing along my info to you.

Drywall tears don't fix the same as normal dents or holes but it is really very simple.

This is what you will need.

 
I'm all about convenience so for almost all wall repair I use poly fill in a tube, yes premixed and easy to use but for drywall rips you definitely need a compound that you mix yourself. The consistency is much finer and will clean the fine details of the rip that you need to hide under paint.
 
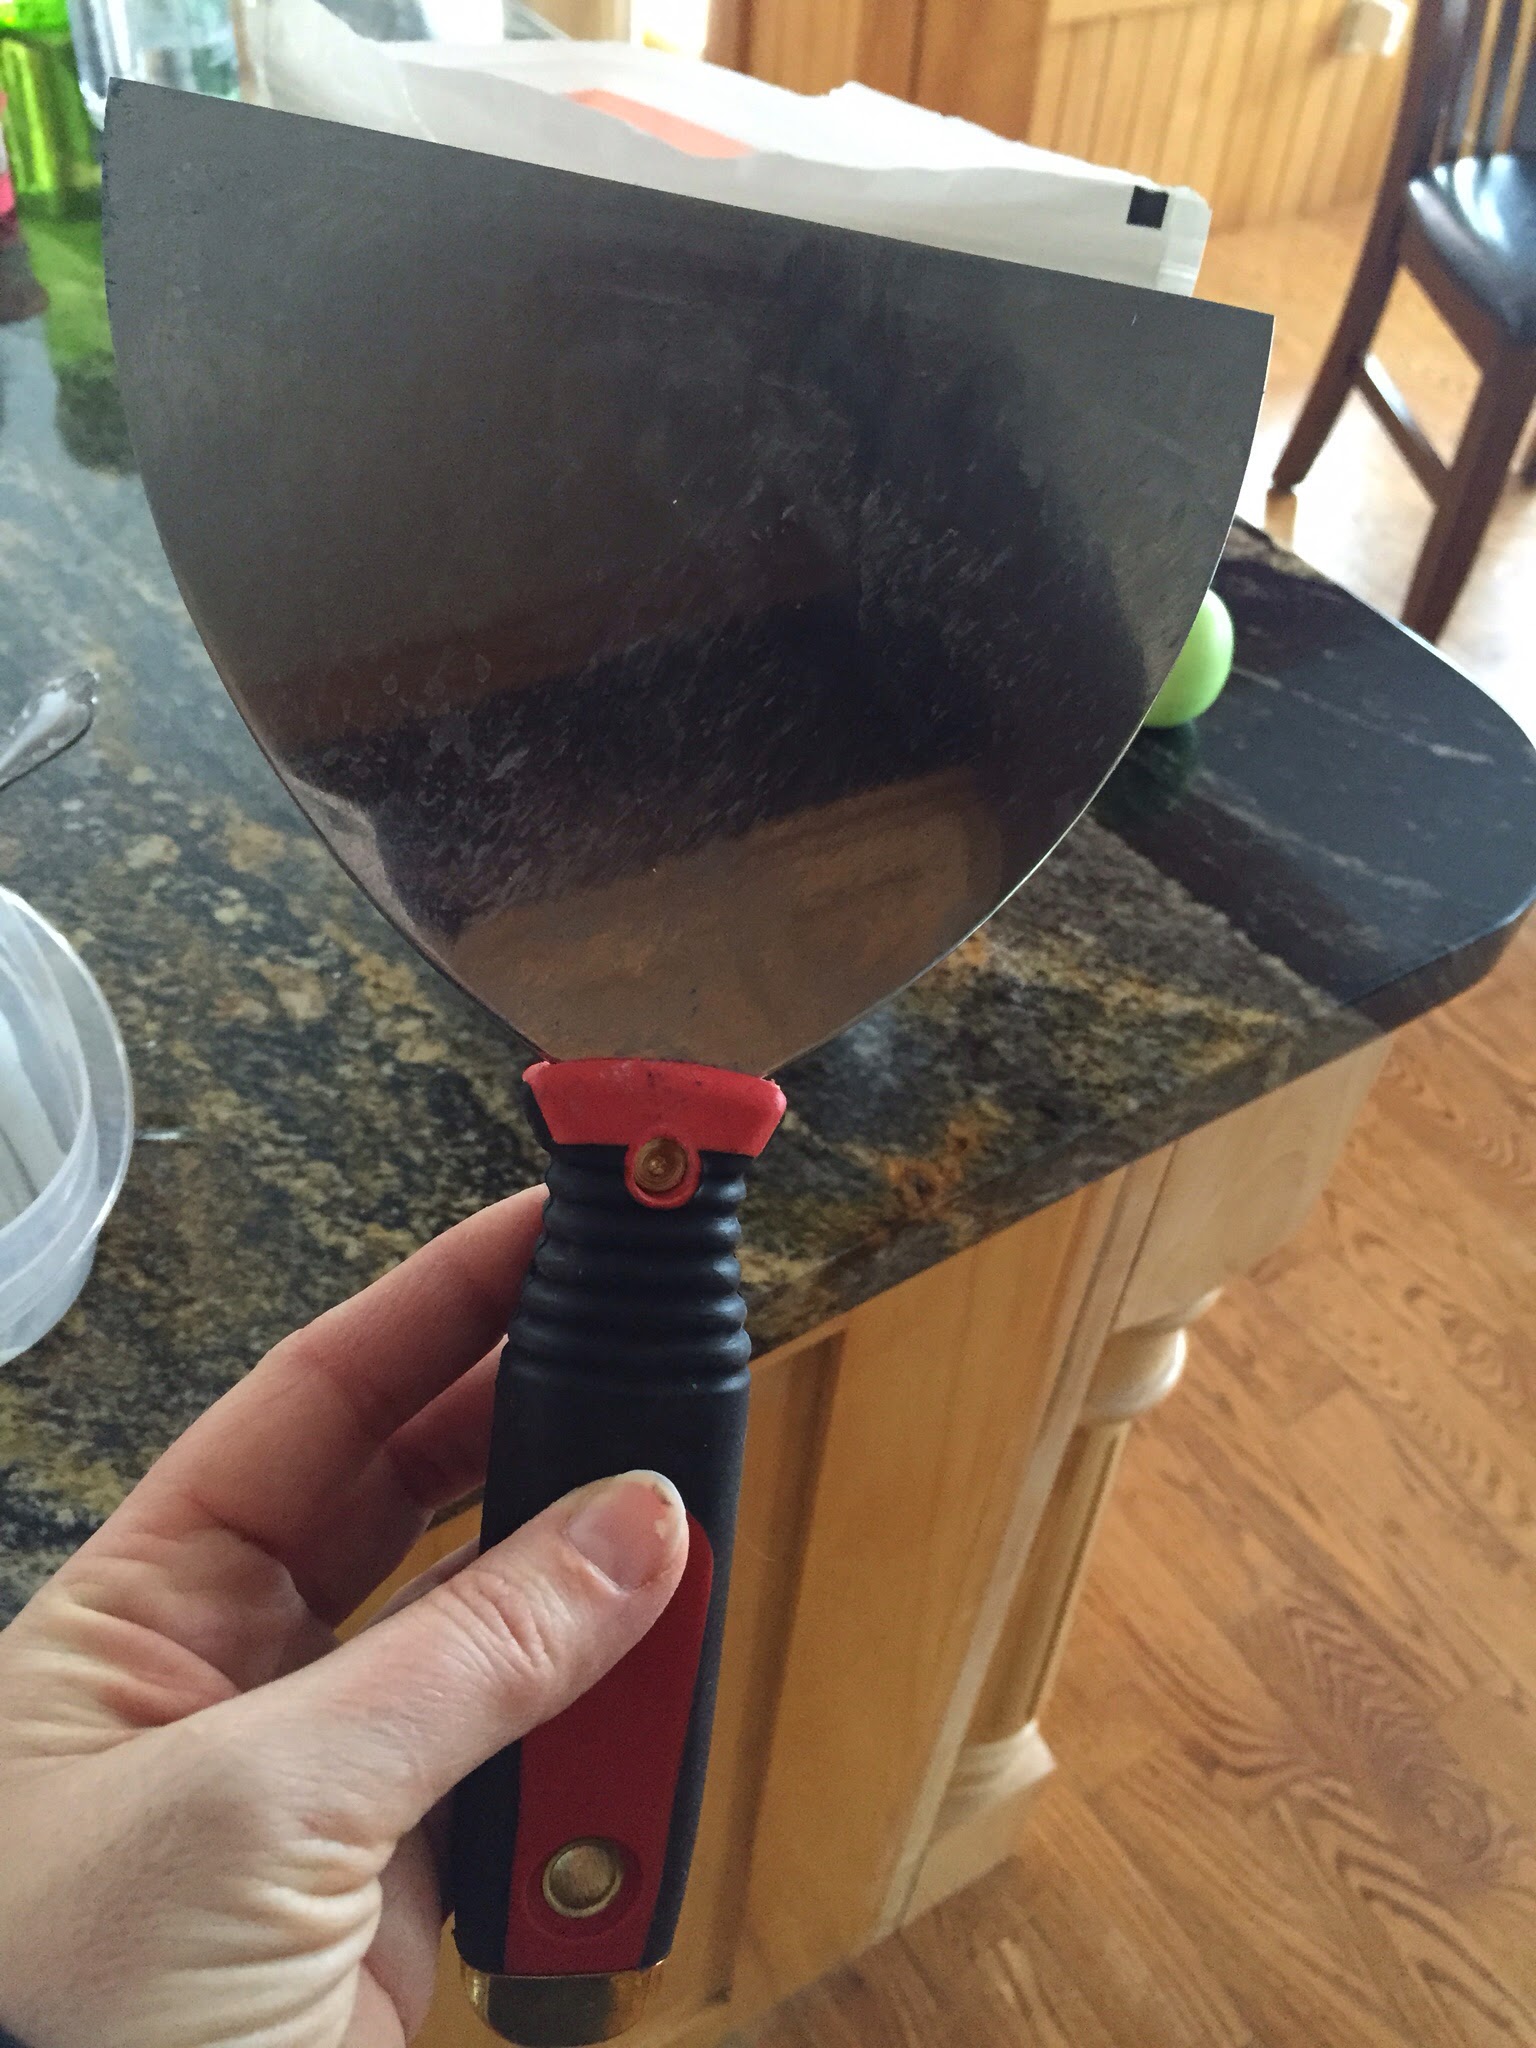
Next you will need a decently large putty knife blade. The longer the better.
 
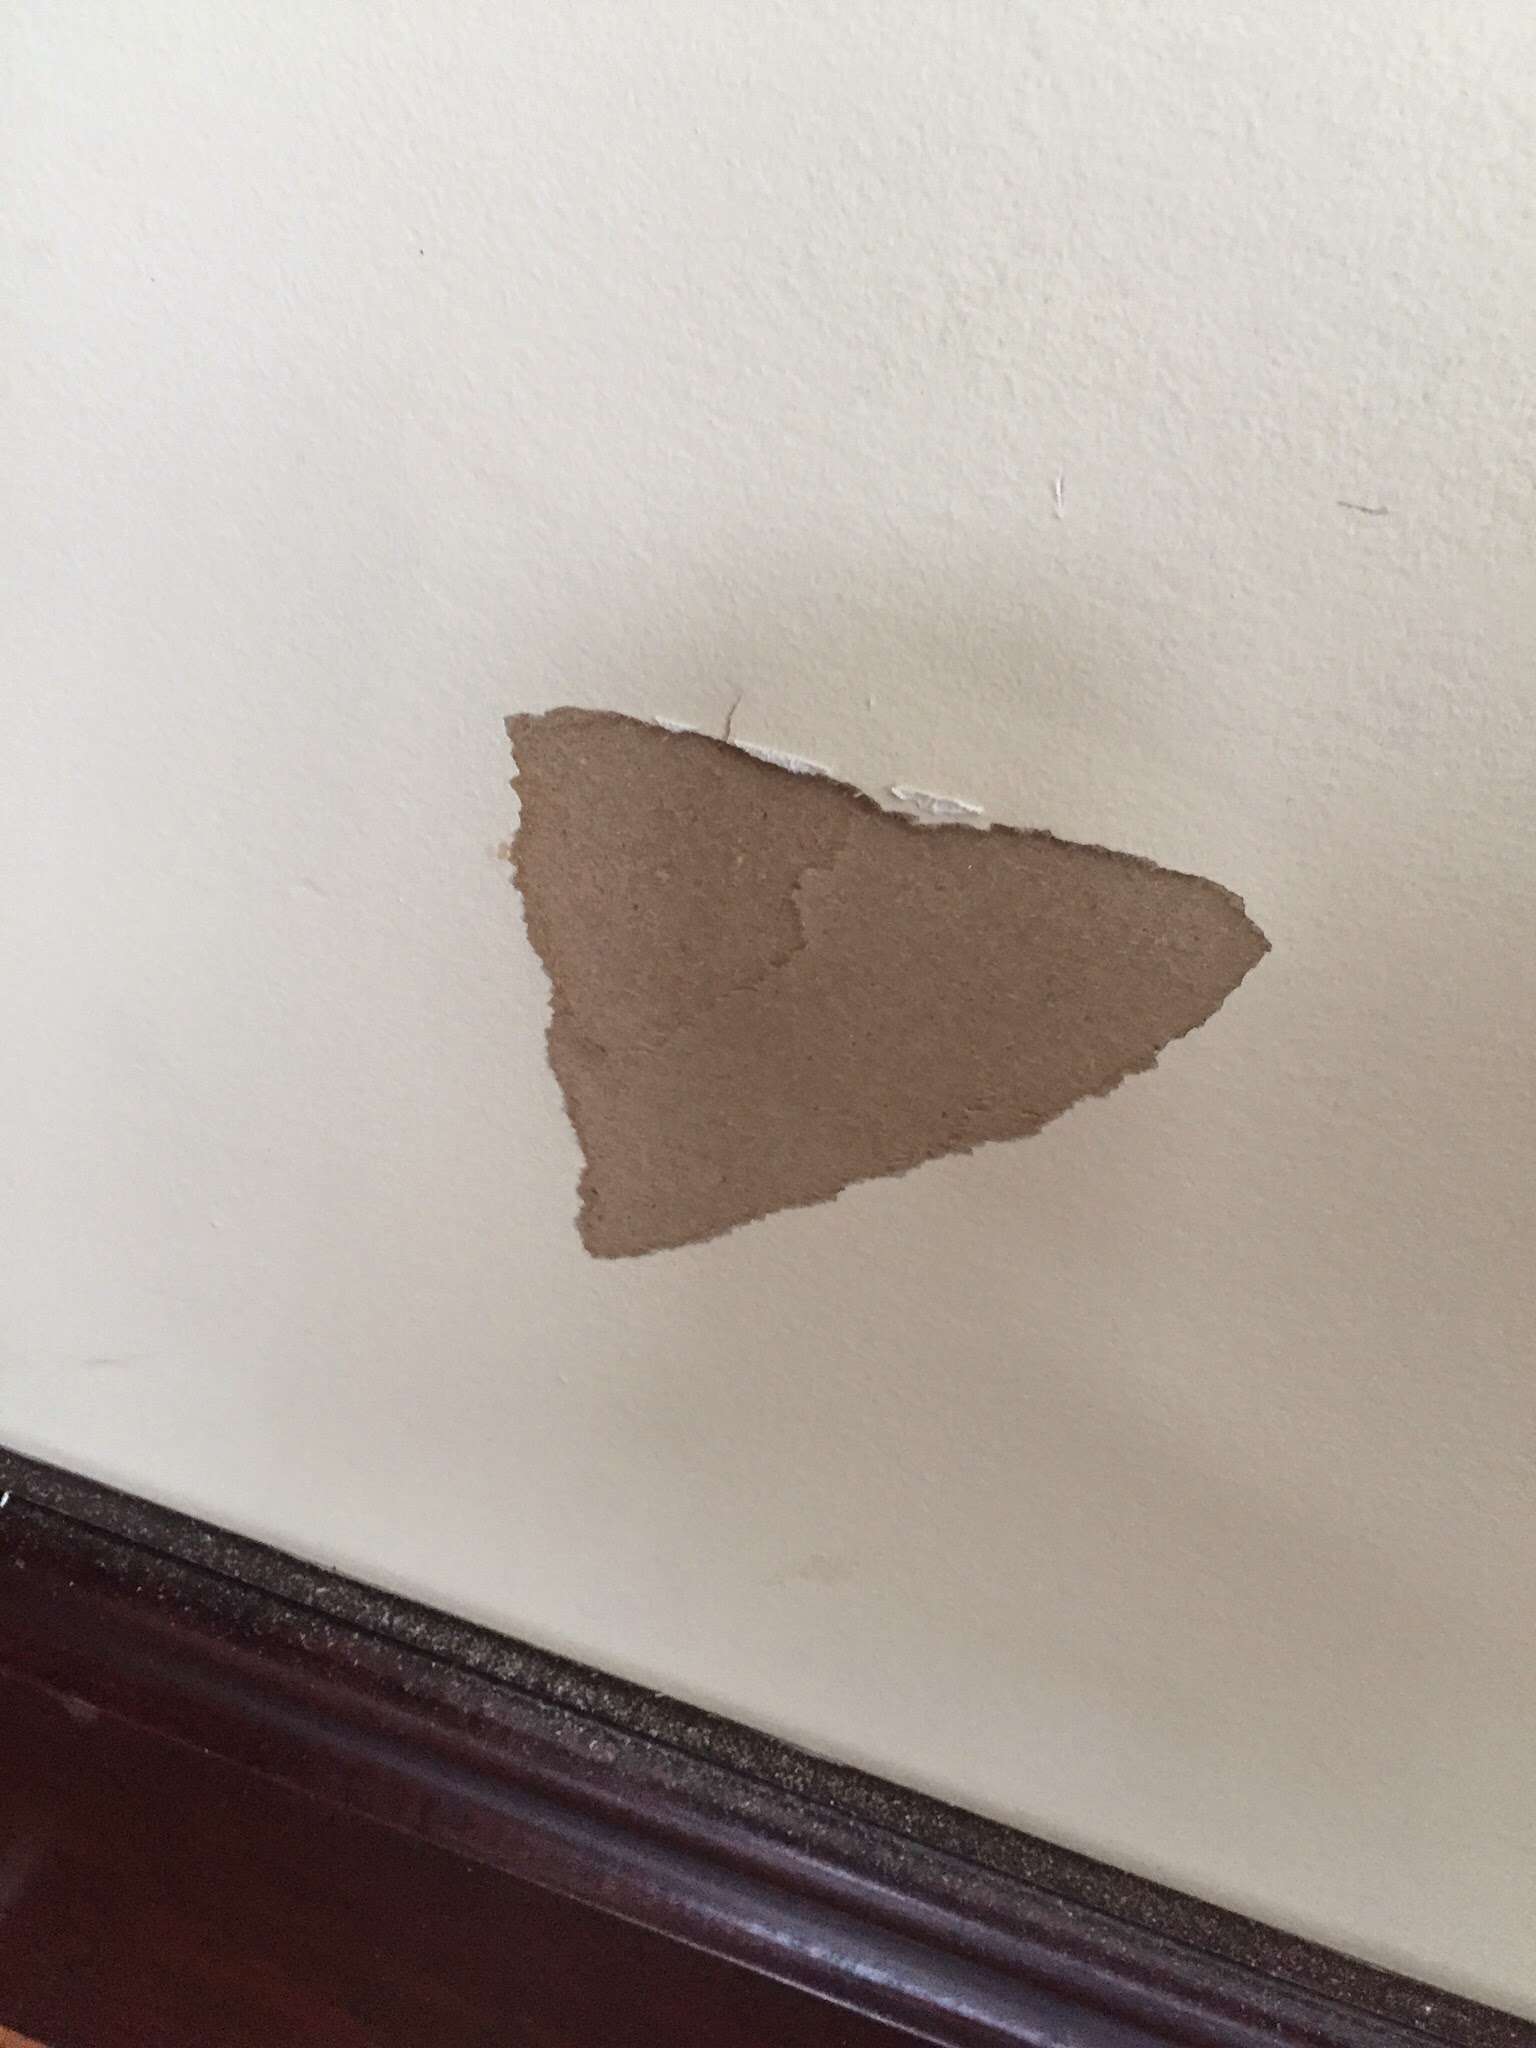
Here is the rip I was repairing. Ist remove all the loose bits. You don't want anything that can flap or move left on the wall. Sometimes this means making the rip bigger. If its getting out of control use an sharp knife or blade to put a cut in the wall where the rip is heading. A blunt cut will still be better to repair than a very long tear.
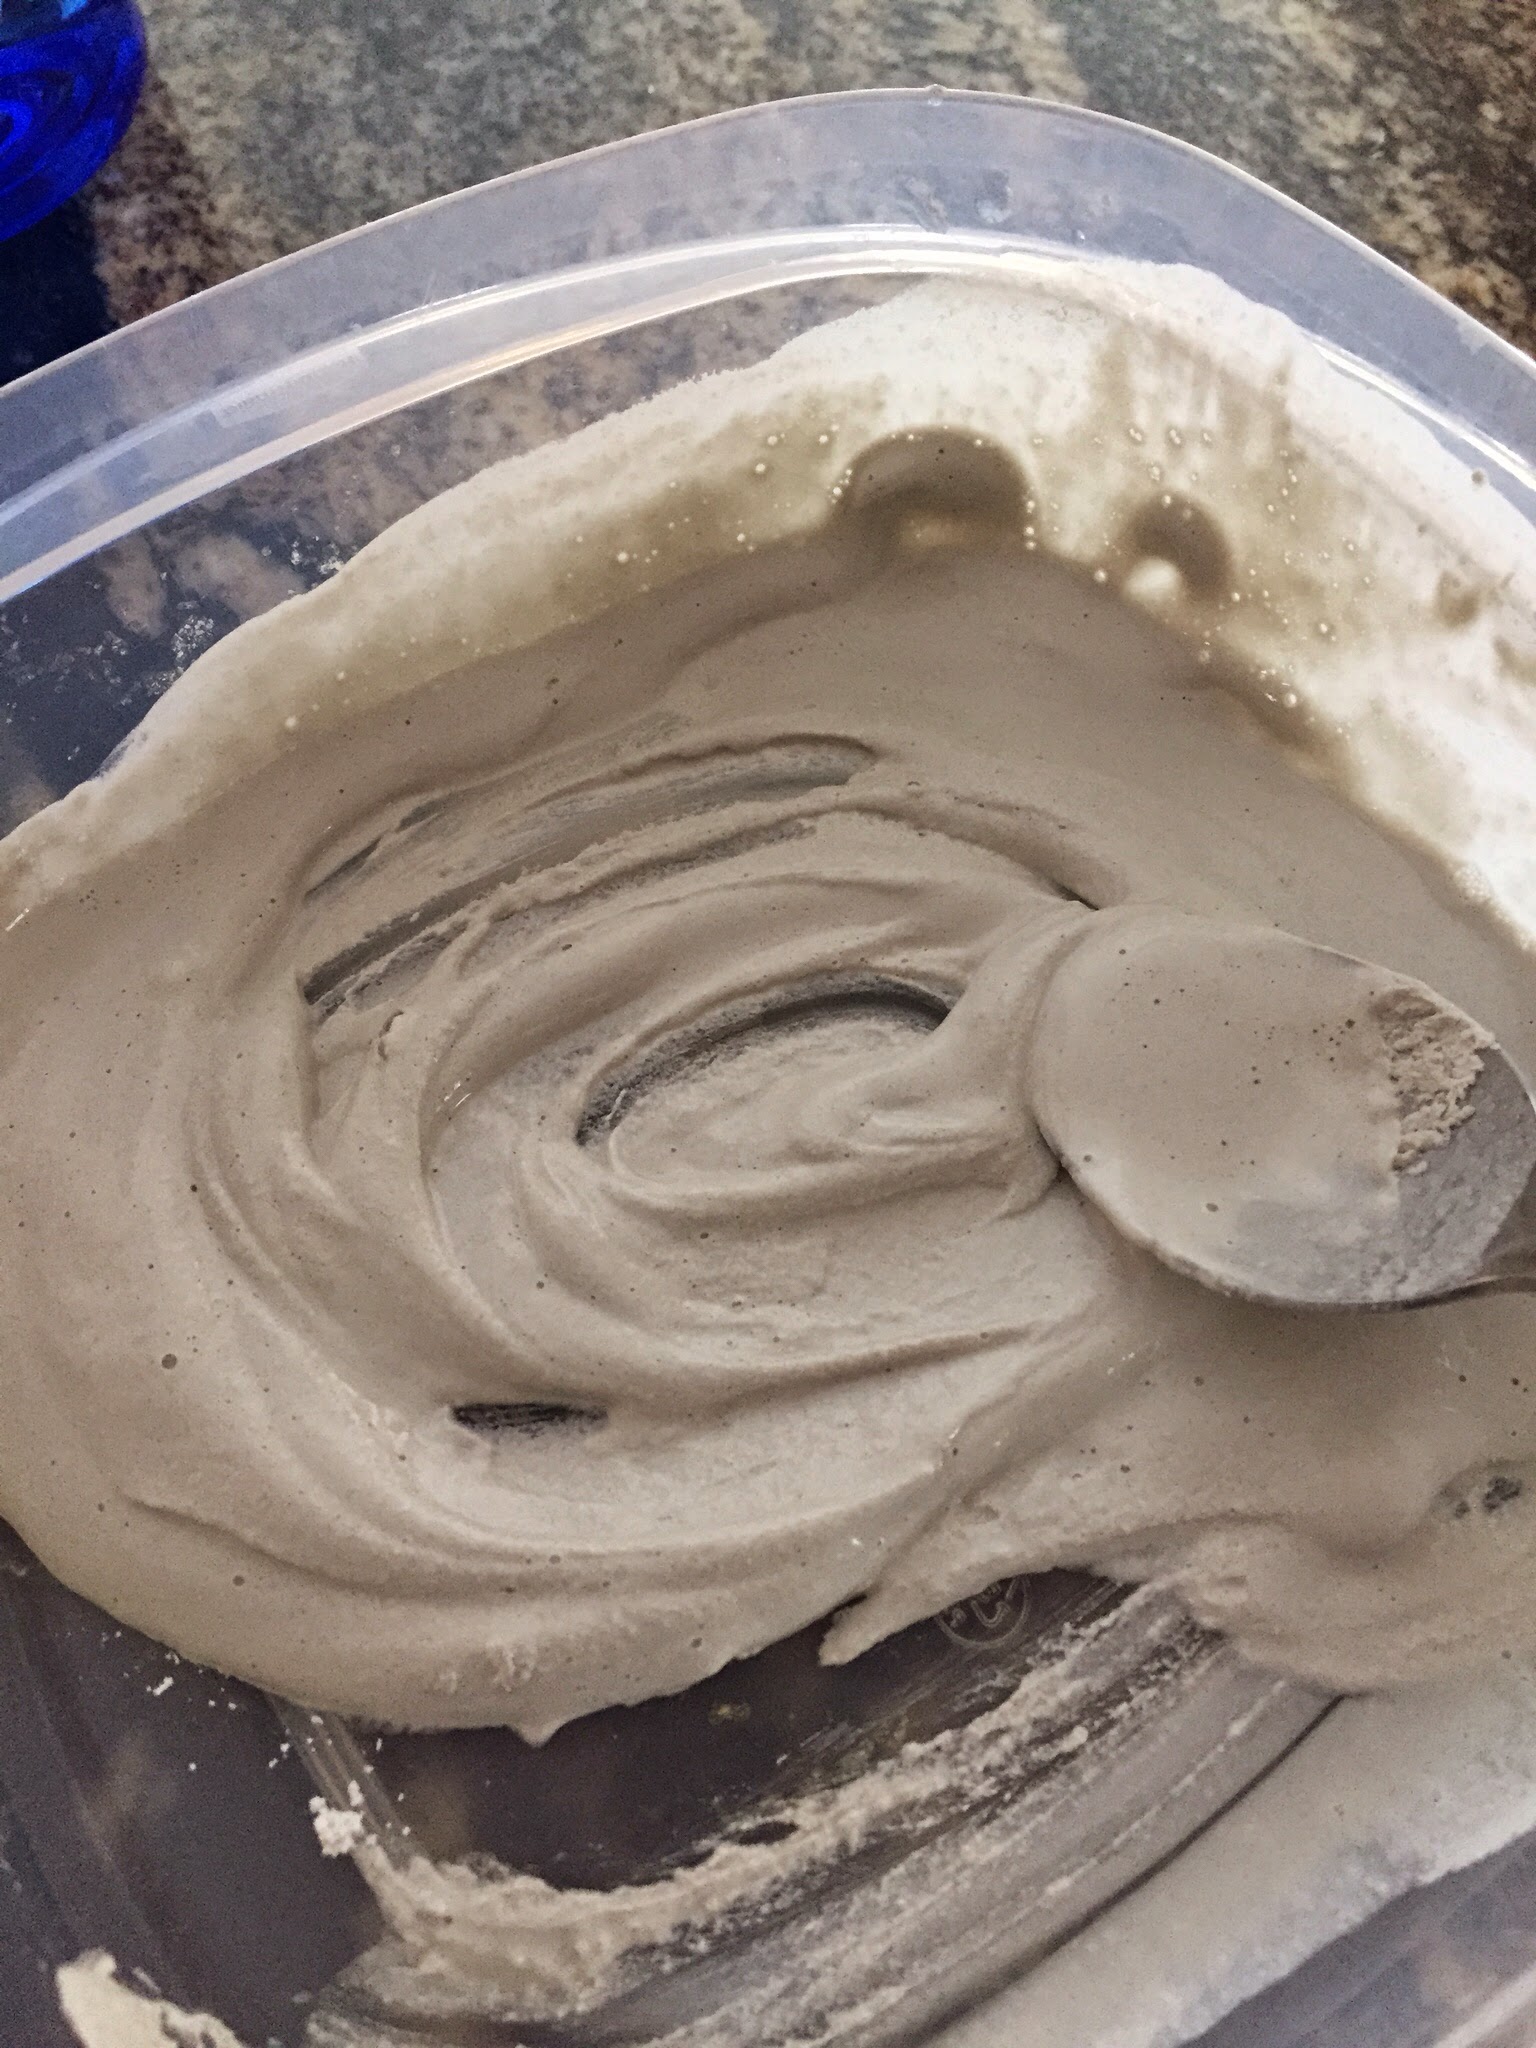
Next you will need a temporary small container for mixing the dry wall compound with water. Add enough water to make a consistency that is not runny but not thick like peanut butter. It needs to be easy to manuveur.
put a decent amount along the top edge of your blade and turn the blade to face the wall with the putty side towards your tear. On an angle smooth over the surface until you get a clean thin cover over the whole tear. Try not to muck with it to much at the drywall is susceptible to the moisture. On or two quick runs over and leave it to dry. It drys quick. After its dry run a slightly damp spong over the surface or give it a very quick sanding. If its not smooth to the touch repeat the putty steps. After it is dry its ready for paint.